Many of our high-volume customers use Internet Vikings as their hosting platform for building a large PBN (Private Blog Network). Internet Vikings offer servers with different IP-addresses for each site hosted on the same server.
Below is a brief overview of how you can use the Wayback Machine Downloader in conjunction with their hosting platform, and when (not) to use them.
Why use Wayback Machine Downloader for your PBN?
PBNs are used to improve SEO rankings, by creating backlinks on websites built on expired domains. The Internet Archive has a lot of good content available for those expired domains. The Wayback Machine Downloader software lets you quickly recreate those websites.
The benefits versus creating PBNs from scratch with new content:
- Recovering sites from the Internet Archive is fast and cheap.
- The results look more authentic and less generic.
- Backlinks automatically redirect to the appropriate content, so you are less likely to lose backlinks.
- The content is usually of a better quality versus content written by cheap SEOwriters.
The downside is that not all expired domains have good content available on the Internet Archive.
For SEO reasons, it’s useful to host PBN sites on different IPs. Internet Vikings help with that.
Which customers should use Internet Viking?
Internet Vikings require a bit of technical knowledge, so we only recommend it for (semi-) professional parties with 50+ PBNs. To give you an idea: our customers that use Internet Vikings are the type who regularly create 50+ PBN sites each month.
Why use their platform for hosting PBN sites?
Their service allows you to:
– Install hundreds of PBN sites on the same server.
– Change the geolocation for any domain separately, while keeping files on the same server.
– Choose from 160.000 IPs in Europe and the US with a spread in about 35 A-classes, 70 B-classes, and 1200 C-classes.
The technical bits
Internet Vikings use VMware to set up virtual machines. This sounds more daunting than it is, and they do provide support to help you get started.
Below is a brief howto to give you an idea of how their platform works:
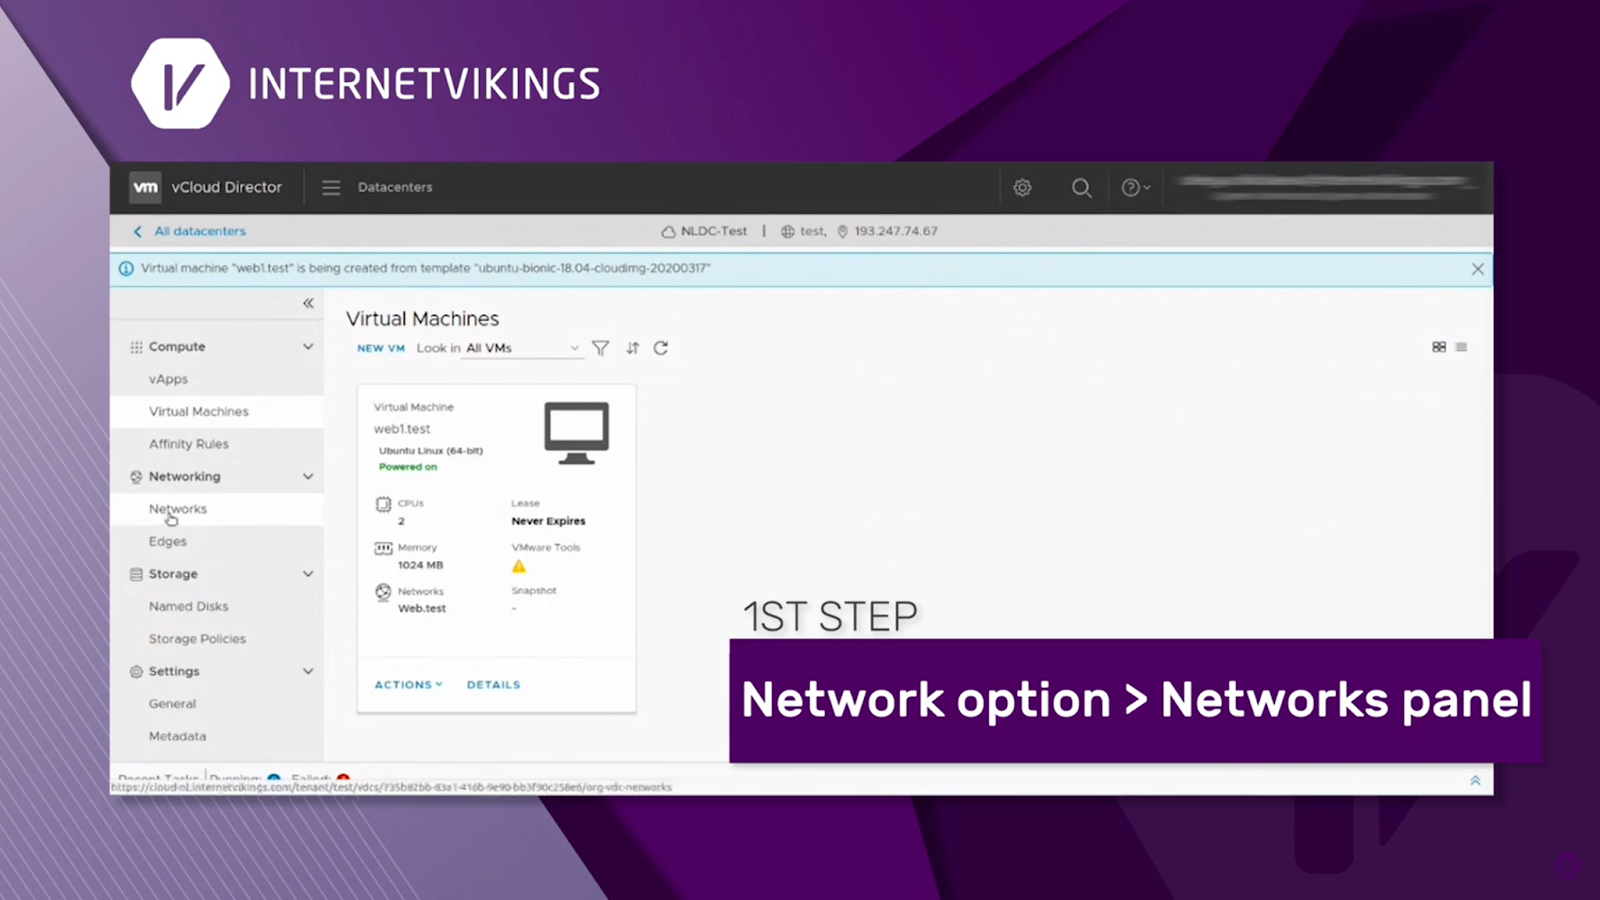
1 – Create a network
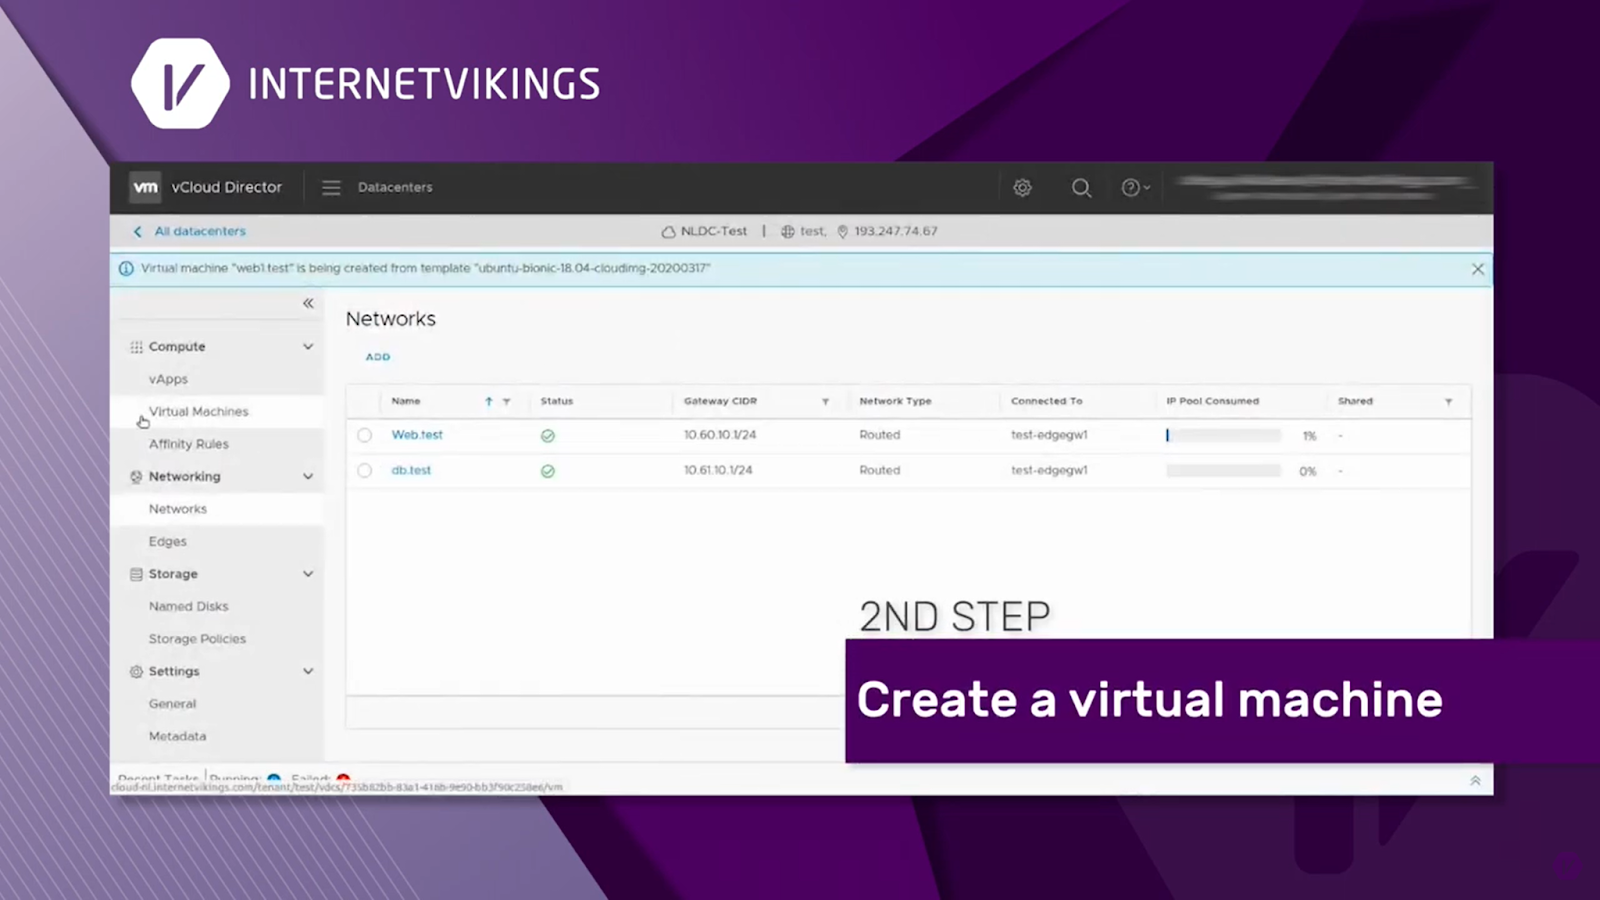
2 – Create a new VM
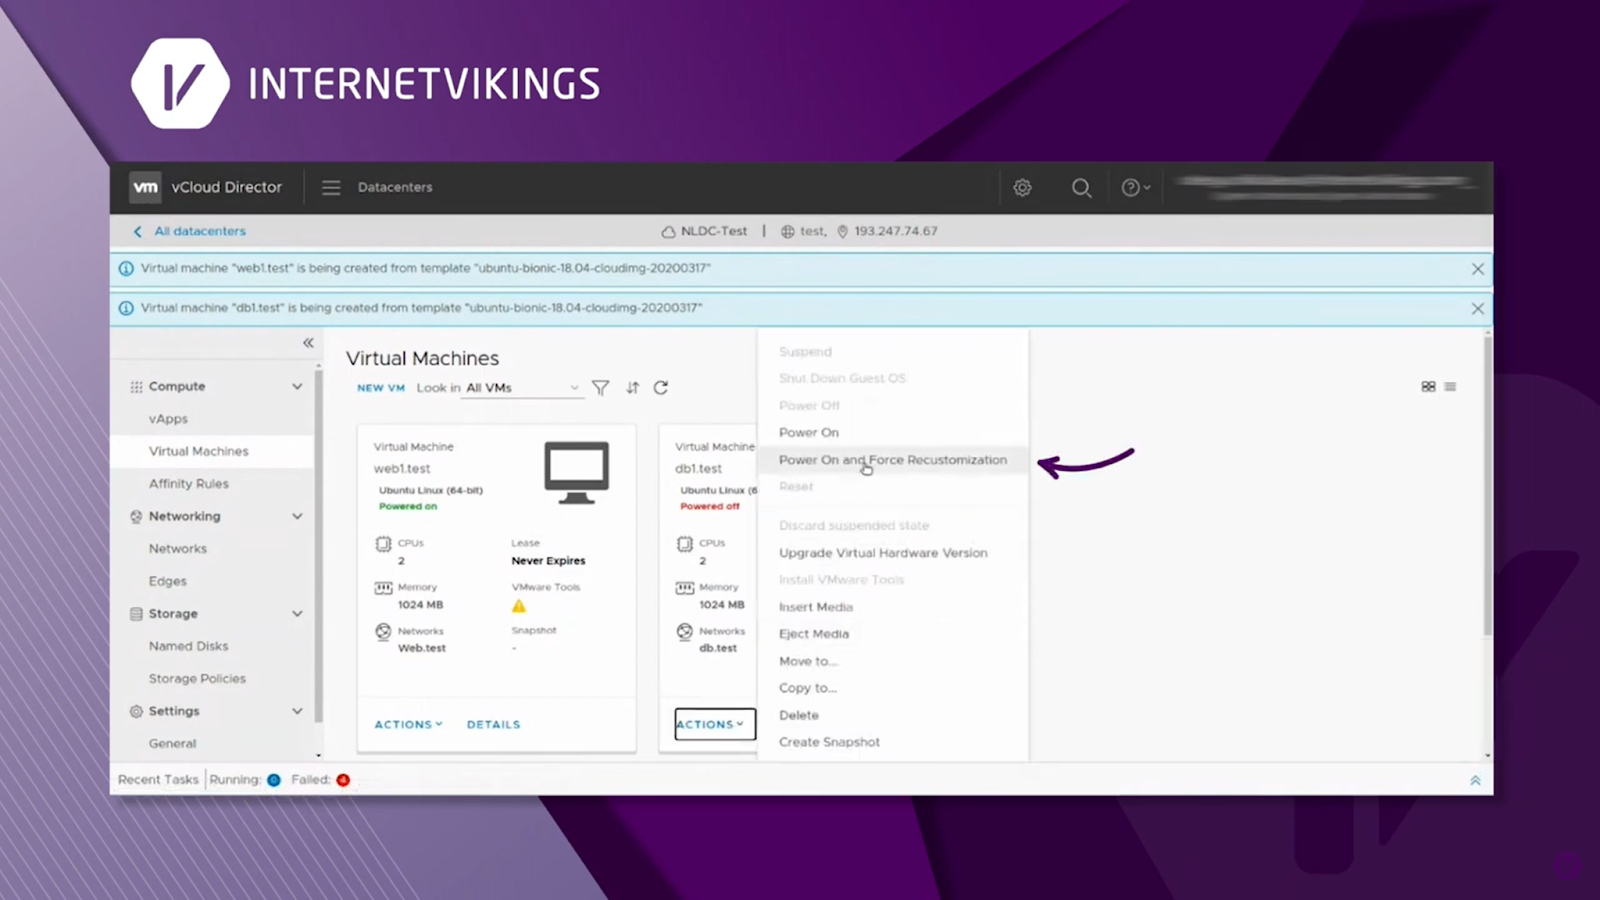
3 – Power On and Force Recustomization
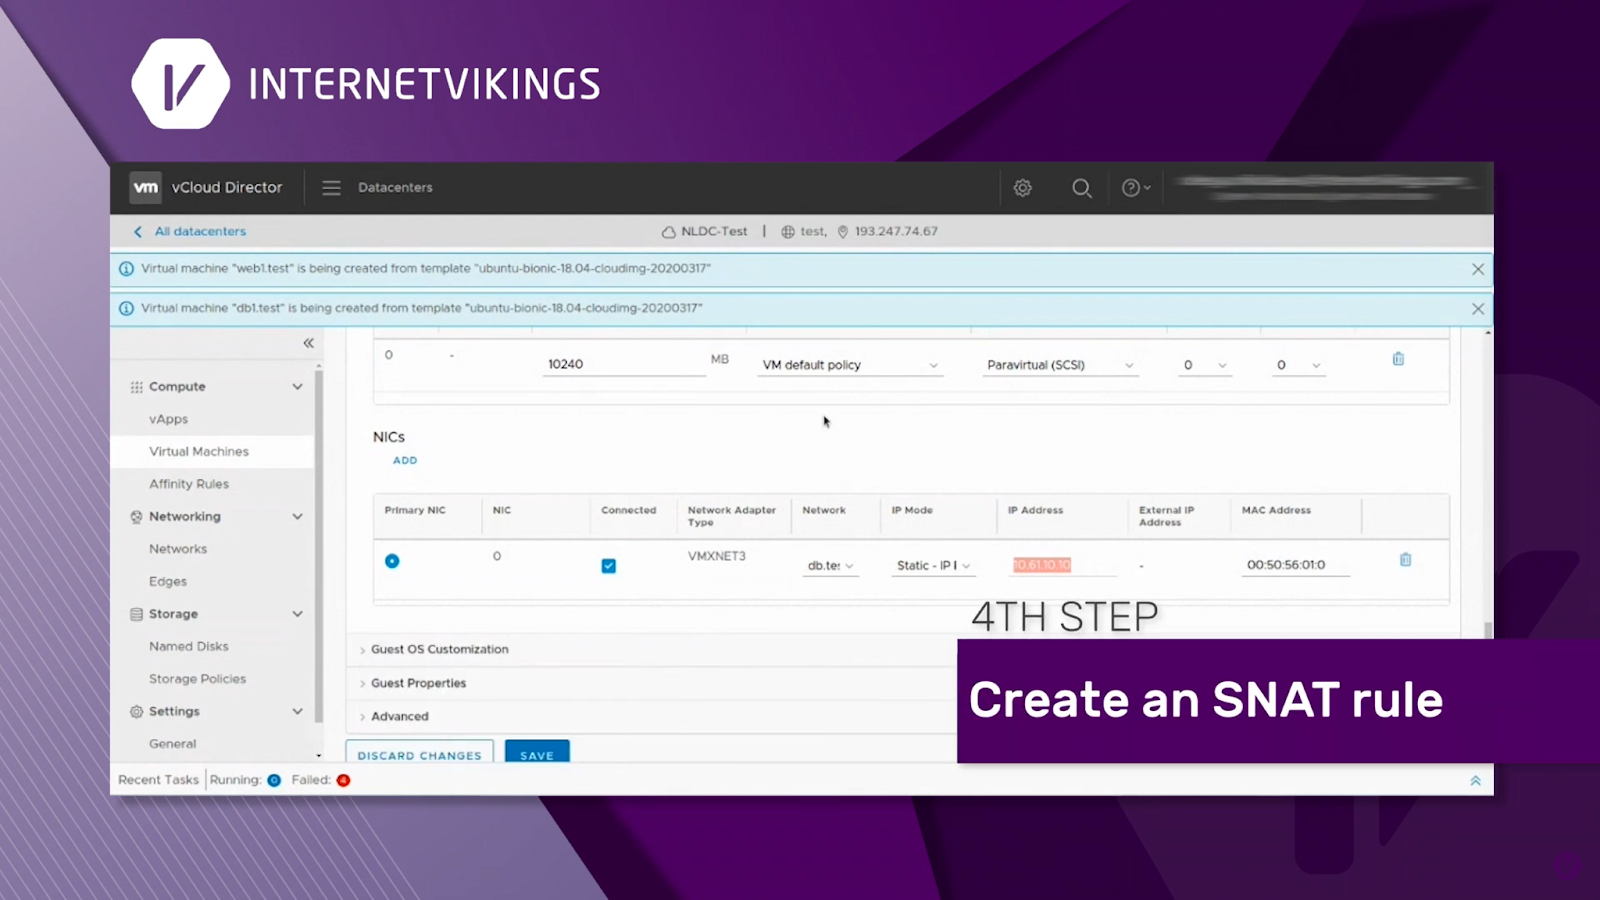
4 – Create an SNAT or DNAT rule.
In order for the network and VMs to have access to the Internet, you will need to create an SNAT rule. To log into SSH you will need first add a DNAT rule which works in a similar way to a Port Forwarding rule.
5 – That’s it. You have created a new VM and can easily manage it from this platform.
Need more guidance or information? Visit our website and contact our account managers.